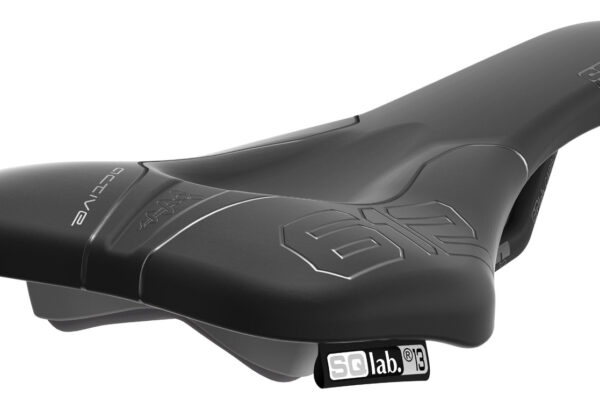
Choosing a saddle for your bicycle is a bit like choosing a pair of cycling shoes. The colours shapes and sizes are endless and I know for many of you it is important the saddle looks fast and matches your paint job. Although this is a terrible reason to purchase a saddle, I am sure it’s the basis of many saddle sales. It will make your bike look good but if you are at the back of the pack with a sore butt no one will see the saddle anyway.
Again, like shoes, the saddle is all about the fit. Everyone’s pelvis is different, width and sacroiliac joint flexibility will have an affect on how a saddle feels underneath you. In fact the overall position on the bike will affect how the saddle feels because it will influence the way your body sits on the saddle. If it is time to replace your current saddle and you want the Holy Grail of saddles for your butt; start with what you have now.
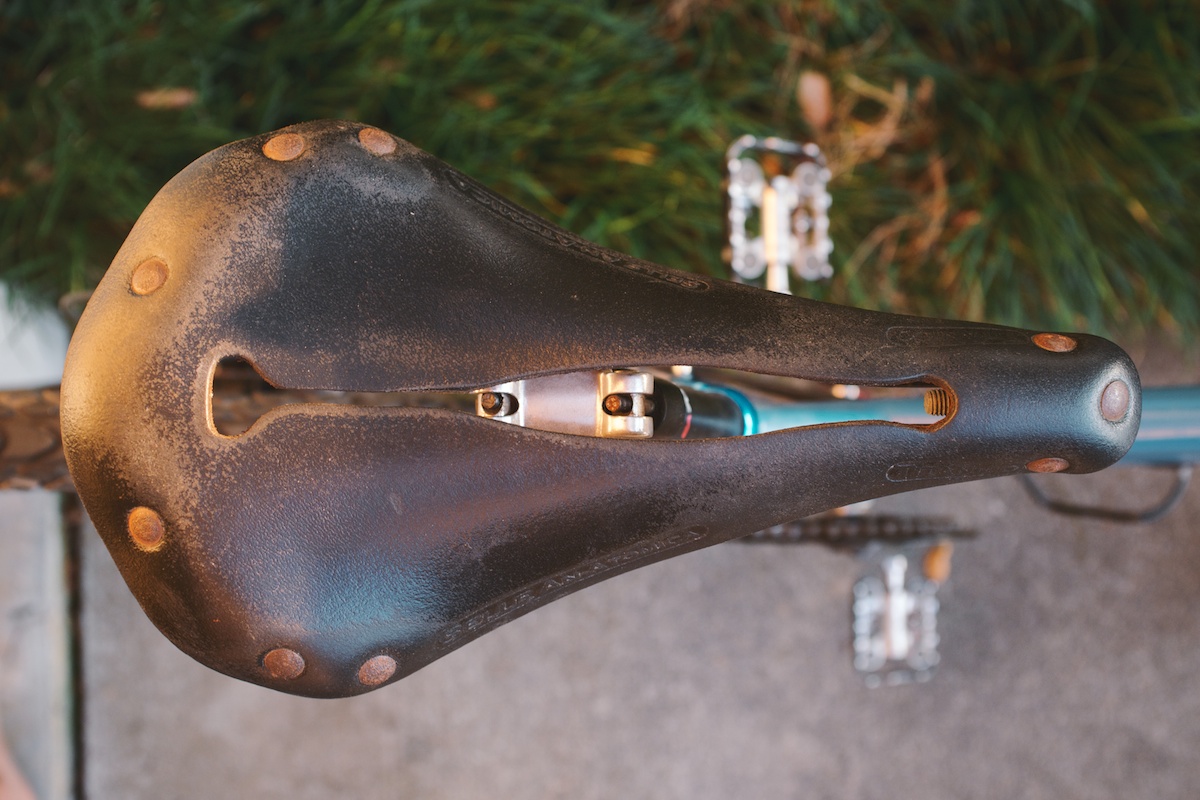
Is it long or short, curvy or flat, wide or narrow? How does it feel after one hour, after 2 hours? Once you can determine what you have and how it makes you feel (assuming it’s in the right position for you) you can begin to look at what’s out there and the differences.
For example, if after half an hour on your narrow saddle you feel you are sliding side to side, constantly adjusting your position, try something wider. If you have a flat saddle and after an hour you are feeling pressure on your perineum (http://en.wikipedia.org/wiki/Perinium), especially in the drops, try something with some curves. The idea is pelvic support; you want to be able to spin your legs as fast as you wish with very little movement from the pelvis.
There are many ways saddle companies will measure you and try to sell you their saddles, there is even a tool made by Specialized called the Ass-O-Meter (I think that’s what they call it?). It measures the width of you sit bones and from there you buy the corresponding sized saddle. This is great until you have ridden 95km and you are completely numb… The issue with saddle sale systems is they focus on one element, not the entire picture. They are a great way to start, but I feel you need time in the saddle to choose the right one. Demo saddles are the way to go and the more you try the better you will feel about spending money on a new one.
The other issue is, a great fitting saddle in the wrong position will feel terrible. So what can you do to make sure your new saddle is in a primo spot? Keep reading.
There are three aspects of saddle position that can be adjusted; height, set back and tilt. The height and setback are directly related by the nature of geometry, when the saddle goes up it goes back, with a 73 degree seat angle the ratio is nearly 3 to 1 (3mm up = 1mm back). Tilt is the angle of the saddle measured parallel to the wheelbase.
To set the correct saddle height you need to be in touch with your body. For a bike fitter the saddle height is something to be seen and not felt. For you it’s a feeling. Asses height by riding uphill in a hard gear, seated with a medium to high cadence. Move your hands from the bar tops, to the hoods and into the drops as each position will change your pelvic orientation and the length of your stride. You may have one position you prefer, but I feel, forget the favourite and fit the saddle height for all the possibilities of your upper body and then you know they are available at anytime on the bike.
If you feel your toes pulling hard right through the bottom of your pedal stroke, absolutely no knee pain or strain and your pelvis is rocking with only the gentlest momentum; you are getting close and can go up 2mm. You CAN NOT determine your saddle height using an equation. These numbers are nothing more than data entry and basic trigonometry; they DO NOT take into account your flexibility, riding strengths or what you had for lunch. You do and I do too.
If you are experiencing pain or discomfort while assessing your saddle height drop your saddle 5 mm. If it feels worse you may be too low and could try raising it, but at this point depends on what the body’s presenting.
If the saddle is too high the weight of the rider will not be stable and your body and ride will suffer. Even the fluid between your joints will deform under tension. It’s also important to find a balance between the right and left legs. As the saddle comes up and passes the height of your physical ability, one leg will start to loose it’s edge and the hip may begin drop. Then the higher you go the more you sacrifice in the equation, your whole body will be reaching for the bottom of the pedal stroke and control will be lost.
If the saddle is too low your muscles can fill with lactic acid and will not get the extension needed to push the fluid through, the legs can feel loaded and cramped and power production will decrease. The perfect saddle height allows the legs to extend to the point where the joints are at ease, nothing is being pulled or pushed too hard and the pelvis is solid.
The fore and aft saddle position is best set using your center of gravity. The KOPS (knee over pedal spindle) method is a fine starting point for the position. However more emphasis needs to be placed on hand pressure and rider mass. As you move your saddle back, your center of gravity moves back and more pressure is shifted to the saddle. Some hand pressure is good, it keeps the front wheel down and allows you to steer but if you are holding yourself up, you are wasting energy. The upper body will take a lot of oxygen away from you leg muscles and your intercostal muscles (http://en.wikipedia.org/wiki/Intercostal_muscle) make the chest cavity tighter limiting a full breath.
If the saddle is too far back there could be the addition of shear force on the knee, where the force applied to the pedal stroke has a greater vector of forward momentum coming from the femur. You may also get a sore butt due to more weight on the saddle.
If the saddle is too far forward the hands may go numb, steering could be heavy and the bike’s handling will become twitchier. This is not the case for TT positions as the hands do not hold up the torso and the bike may have fork and head tube geometry designed to take more of the rider mass.
The perfect fore/aft position should feel nimble, your mass teetering on the edge of bar and saddle. This way you can get low and corner hard or sit up high and climb with out moving far from center.
Don’t forget if you go back you may need to go down as the saddle is further from the bottom bracket. The tilt should be in a position that allows you to maintain a sustained effort in the drops without having pain in the groin. Tilt it forward ever so slightly to relieve pressure and eventually when the tilt begins to drive you into the bars and there is still pressure it’s too far and you need to look for a new shape. There are lots of shapes out there, some have grooves or cut outs to help with perineal pressure making it easier to stay in the drops, SMP Saddles can be helpful if this sounds familiar. Tilt the saddle back if you feel like you are falling towards your bars or if you are constantly sliding yourself back and if when on the bar tops you are sliding off onto the read tyre, tilt slightly forward. Not all seat posts are created equal when it comes to tilt; Thomson is the best from my point of view. Because they have a twin bolt system for tilt adjustment, micro adjustments can be made with ease by sequential twists and turns of the bolts. Posts with a large circular center that acts as a clamp are very hard to adjust accurately and I don’t recommend buying them.
Saddle position is something that should be respected. If it is too high you will hurt yourself, especially if you are riding hard. So if you want to come up do so slowly and pay attention to what is changing. Your saddle should be comfortable if it’s not change saddle or change the saddle position.
Originally posted on ManlyCC